Building Your First React Native App with Expo in 30 Minutes 2026
Building a mobile application can sound complicated, especially if you are new to Android and iOS development. Fortunately, modern tools have made the process much simpler. With React Native and Expo, you can create a functional mobile application without spending hours configuring native development environments.
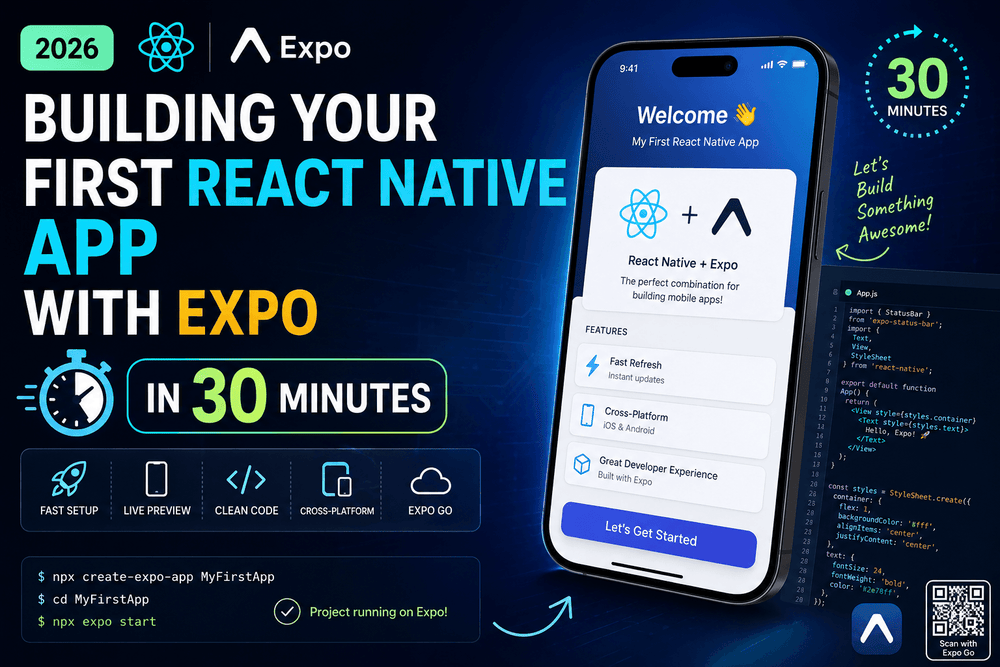
In this beginner-friendly tutorial, we will walk through building your first React Native app with Expo in 30 minutes. You will learn how to create an Expo project, start the development server, edit the interface, add simple interaction, and test your application on a mobile device.
Expo is a framework and development platform built around React Native. The official React Native documentation recommends using a framework such as Expo when starting a new React Native application.
By the end of this guide, you should have a small working application and a solid understanding of the basic React Native development workflow.
What Is React Native and Why Use Expo?
React Native is a framework for creating native mobile applications using React and JavaScript or TypeScript. Instead of building separate applications for Android and iOS from scratch, developers can share much of their application code between platforms.
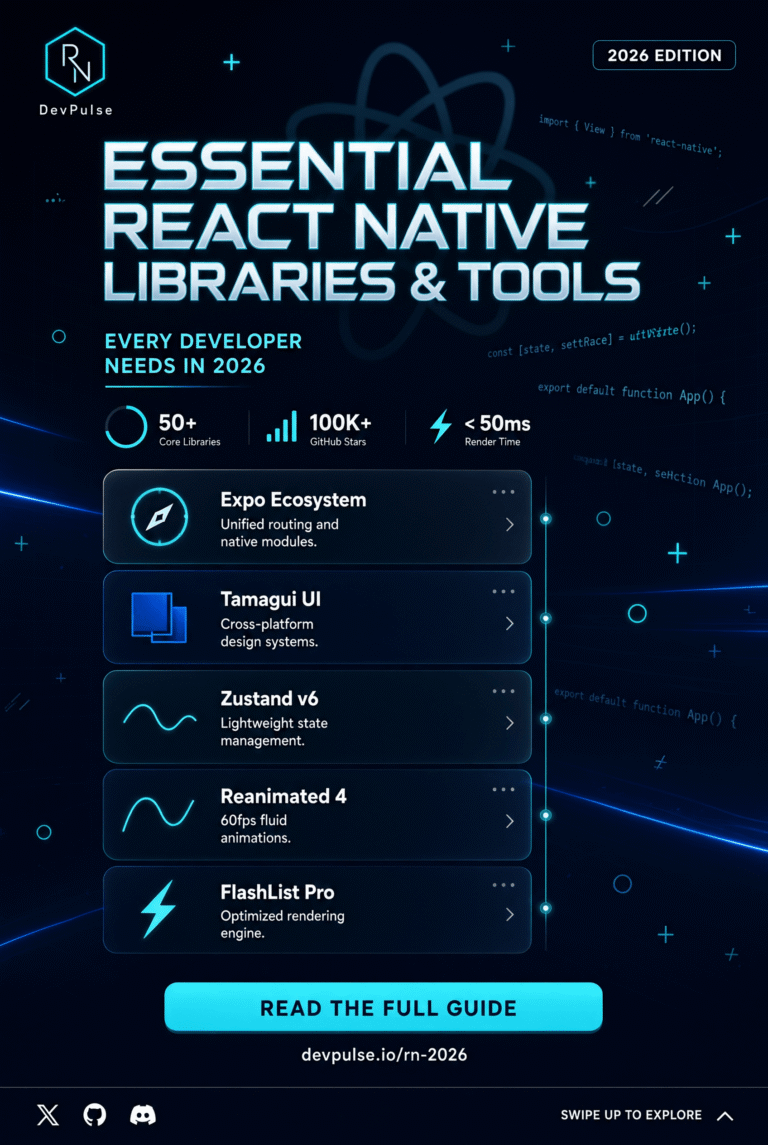
Expo makes this workflow easier by providing development tools, libraries, and services designed specifically for React Native applications. The Expo documentation describes it as a React Native framework that simplifies Android and iOS development while also supporting features such as file-based routing and native modules.
For beginners, one of the biggest advantages is the relatively simple setup.
You do not need to manually configure every part of an Android or iOS project before seeing your first screen. Instead, you can create a project with create-expo-app and start developing quickly.
What You Need Before Starting
Before building your first React Native app with Expo, prepare a few basic tools:
- Node.js LTS
- A code editor such as Visual Studio Code
- A terminal
- An Android or iOS device, or a suitable emulator/simulator
- Basic knowledge of JavaScript and React
Expo’s current documentation lists Node.js LTS, a code editor, and a development machine as key prerequisites. If you want to test directly on a physical phone, Expo also recommends installing Expo Go on an Android or iOS device.
You do not need to be an advanced React developer for this tutorial. Understanding components, JSX, and basic JavaScript will make the process easier.
Step 1: Create a New Expo Project
Open your terminal and create a new Expo application.
A current Expo project can be initialized with:
npx create-expo-app@latest
You can also provide a project name:
npx create-expo-app@latest MyFirstApp
Then move into the project directory:
cd MyFirstApp
Expo’s official documentation recommends create-expo-app as the standard way to initialize a new Expo and React Native project. The tool automatically prepares the project structure and required dependencies.
Important Note About Expo SDK Versions
Expo’s SDK changes over time, so the exact template and recommended command can vary. At the time of writing, Expo’s documentation is transitioning between SDK versions and provides specific templates depending on whether you intend to use Expo Go or another development workflow. Always check the current Expo documentation if a command behaves differently on your machine.
This is an important habit for React Native development because mobile frameworks evolve quickly.
Step 2: Start the Development Server
Once the project has been created, start the Expo development server:
npx expo start
Expo will start the development environment and display a QR code in the terminal.
You can then open the project on a compatible mobile device by scanning the QR code. Expo’s official guide confirms that npx expo start launches the development server and provides a QR code for opening the application on a device.
If you are using an Android emulator, you can use the appropriate emulator option. Similarly, developers working on macOS can launch an iOS simulator when their environment is configured.
If Your Phone Cannot Connect
Your computer and phone normally need to be able to communicate over the network.
If the standard connection does not work, Expo provides a tunnel option:
npx expo start --tunnel
According to the Expo documentation, tunnel mode can help when router or network configuration prevents the normal connection from working.
Step 3: Understand the Project Structure
After creating the project, open it in your code editor.
Depending on the selected Expo template, you may see directories and files such as:
MyFirstApp/
├── app/
├── assets/
├── package.json
├── app.json
└── tsconfig.json
The exact structure can differ between templates and Expo SDK versions.
If your project uses Expo Router, files inside the app directory can represent application screens. This is known as file-based routing.
For example, a screen might be represented by:
app/
└── index.tsx
The Expo tutorial uses this approach and explains that the main screen can be implemented in app/index.tsx.
This structure can be especially useful as your application grows because navigation becomes closely connected to your project files.
Step 4: Create Your First Screen
Now let’s build a simple welcome screen.
Open your main screen file, such as app/index.tsx, and use:
import { StyleSheet, Text, View } from 'react-native';

export default function Index() {
  return (
    <View style={styles.container}>
      <Text style={styles.title}>My First React Native App</Text>
      <Text style={styles.subtitle}>
        Built with React Native and Expo
      </Text>
    </View>
  );
}

const styles = StyleSheet.create({
  container: {
    flex: 1,
    alignItems: 'center',
    justifyContent: 'center',
    padding: 24,
  },
  title: {
    fontSize: 26,
    fontWeight: 'bold',
    marginBottom: 12,
  },
  subtitle: {
    fontSize: 16,
  },
});
Save the file and look at your connected device.
The application should automatically update.
React Native uses components such as View and Text instead of traditional HTML elements such as div and p. Styling is also handled through JavaScript or TypeScript objects rather than traditional CSS files in the basic React Native workflow.
Step 5: Add Simple Interaction
A mobile application becomes more interesting when users can interact with it.
Let’s add a button that changes a message.
Update the screen:
import { useState } from 'react';
import {
  Button,
  StyleSheet,
  Text,
  View,
} from 'react-native';

export default function Index() {
  const [message, setMessage] = useState('Welcome to my app!');

  return (
    <View style={styles.container}>
      <Text style={styles.title}>My First React Native App</Text>

      <Text style={styles.message}>{message}</Text>

      <Button
        title="Tap Me"
        onPress={() => setMessage('You pressed the button!')}
      />
    </View>
  );
}

const styles = StyleSheet.create({
  container: {
    flex: 1,
    alignItems: 'center',
    justifyContent: 'center',
    padding: 24,
  },
  title: {
    fontSize: 26,
    fontWeight: 'bold',
    marginBottom: 24,
  },
  message: {
    fontSize: 18,
    marginBottom: 20,
  },
});
Here, useState comes from React and allows the component to store changing information.
When the user presses the button, setMessage() updates the state. React then renders the updated interface.
This simple example demonstrates one of the most important ideas in React Native development: the user interface responds to application state.
Step 6: Understand the Core Components
Even a small React Native app uses several fundamental components.
View
View is one of the most common components in React Native. It is used as a container for other components.
<View>
  <Text>Hello</Text>
</View>
You can think of it as a basic layout container.
Text
The Text component displays text:
<Text>Hello World</Text>
Unlike a web application, you should use React Native’s Text component rather than an HTML paragraph element.
Button
The Button component provides basic user interaction:
<Button
  title="Save"
  onPress={() => console.log('Saved')}
/>
For more advanced interfaces, developers often use additional components or libraries to create customized buttons and interaction patterns.
StyleSheet
StyleSheet provides a convenient way to organize component styles:
const styles = StyleSheet.create({
  container: {
    flex: 1,
  },
});
React Native’s styling system shares many familiar concepts with CSS, including properties such as fontSize, padding, margin, and backgroundColor.
Step 7: Test Your App on Multiple Platforms
One of the major benefits of Expo is its multi-platform development workflow.
An Expo application can target Android, iOS, and the web, depending on the project and features being used. Expo’s official tutorial demonstrates a universal application running across these platforms from a shared codebase.
This does not mean every feature behaves identically everywhere.
Mobile operating systems have different capabilities, design conventions, permissions, and APIs. As your application becomes more advanced, you may need to account for platform-specific behavior.
Still, sharing application logic and much of the interface can significantly simplify development.
Common Problems Beginners May Encounter
Your first Expo project may not work perfectly on the first attempt. That’s normal.
1. Node.js Version Problems
If the project refuses to start, verify that you are using a supported Node.js LTS version.
Using an outdated Node.js installation can cause dependency or command-line problems.
2. Network Connection Issues
If Expo Go cannot connect to your development server, check whether your phone and computer can communicate over the network.
You can also try:
npx expo start --tunnel
3. Dependency Problems
Avoid randomly installing packages to fix errors.
First read the error message and check the official Expo or React Native documentation. Expo provides documentation for installing and using its SDK packages, while React Native maintains official guides for the framework itself.
4. Code Changes Are Not Appearing
Make sure the file was saved and that the development server is still running.
Restarting the Expo development server can also help when the development environment becomes stuck.
Why Expo Is a Good Choice for Beginners
The biggest advantage of Expo is not simply that it makes the first application fast to create. It also provides a development workflow that can grow with your project.
You can start with a simple interface and later explore:
- Navigation
- Device sensors
- Camera and media features
- Local storage
- Notifications
- Authentication
- API integration
- Animations
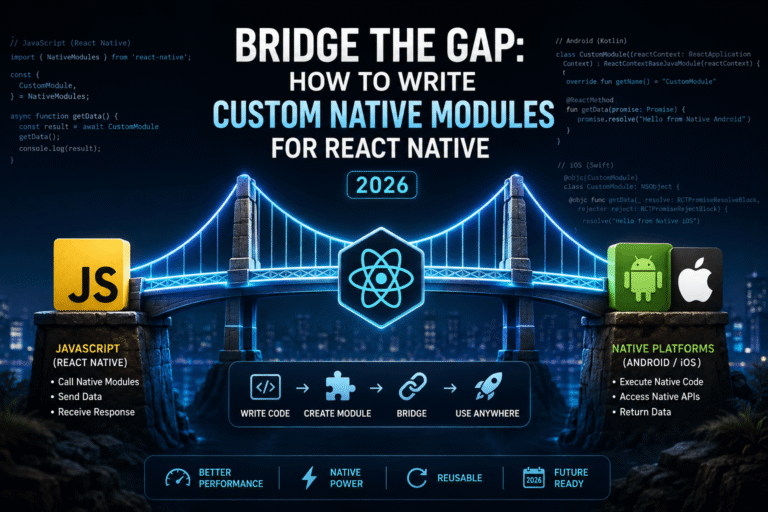
- Native modules
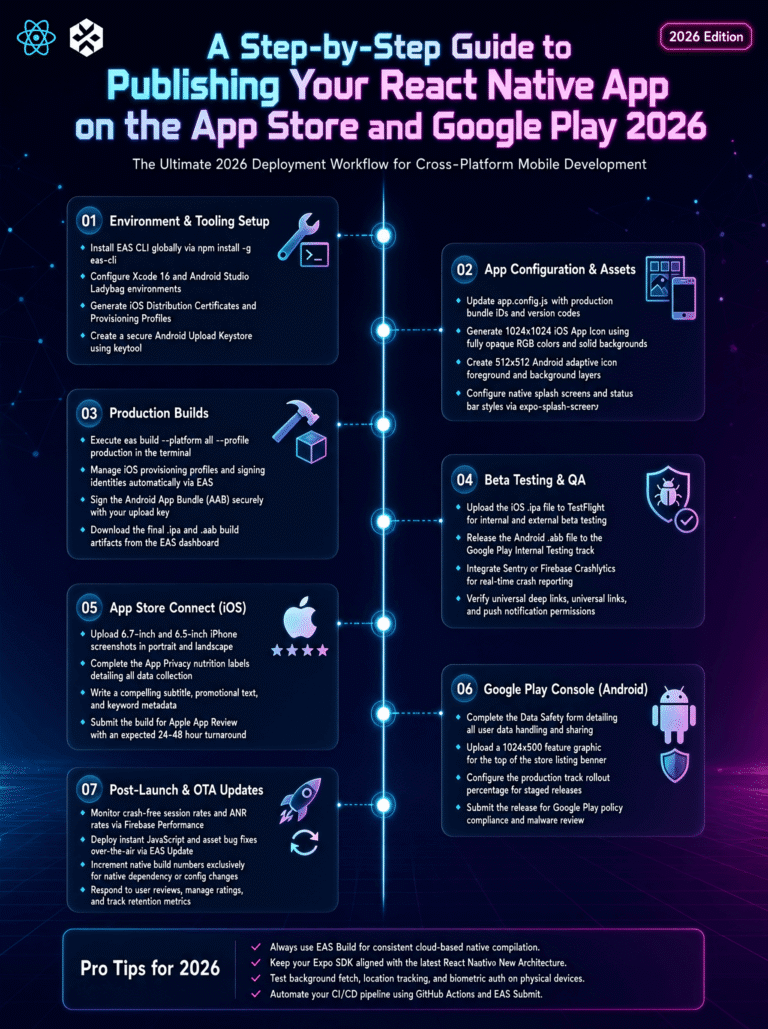
- Application builds and deployment
Expo’s own tutorial introduces developers to navigation, native APIs, gestures, media features, platform differences, and application configuration as they progress beyond the basics.
Expo also provides EAS (Expo Application Services) for development and deployment workflows. These services are optional but can become useful when you move from a prototype toward a production application.
What You Can Build After This Tutorial
Once you understand the basic React Native and Expo workflow, you can start building more practical applications.
For example, your next project could be:
- A task management app
- A weather application
- A simple expense tracker
- A notes application
- A recipe browser
- A news reader
- A product catalog
- A real-time chat interface
The important thing is to avoid trying to build an extremely complex application immediately.
Start with a small idea, divide it into screens and components, and add features gradually.
Best Practices for Your First React Native Project
A few habits can make your development experience much easier.
Keep components small.
Avoid putting an entire application inside one enormous component. Separate reusable interface elements as the project grows.
Use TypeScript.
Modern Expo templates can be configured with TypeScript, which can help catch many mistakes before the application runs. Expo’s official tutorial uses TypeScript in its default workflow.
Read official documentation.
React Native and Expo change frequently. Tutorials from several years ago may contain commands or practices that are no longer recommended.
Test on real devices.
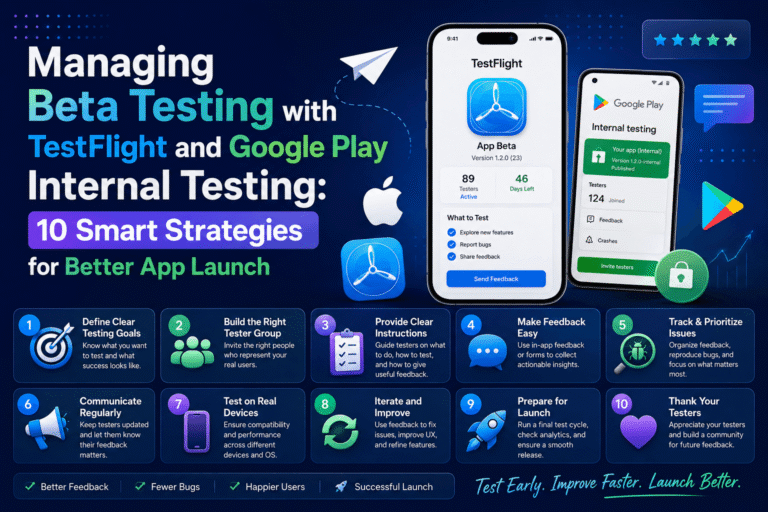
Emulators are useful, but testing on an actual Android or iOS device can reveal differences in performance, screen dimensions, permissions, and interaction.
Do not install unnecessary dependencies.
Every additional package introduces another dependency to maintain. Use the platform and Expo capabilities that already solve your problem whenever practical.
From a 30-Minute Prototype to a Real Application
Building your first React Native app in 30 minutes is achievable, but creating a production-ready mobile application takes considerably longer.
A real application requires thoughtful architecture, error handling, testing, accessibility, performance optimization, secure data handling, responsive layouts, and a reliable release process.
The 30-minute goal should therefore be viewed as a starting point, not a promise that a complete commercial application can be built in half an hour.
The real achievement is getting from an empty folder to a working mobile interface quickly. Once that development loop makes sense, learning more advanced React Native concepts becomes much easier.
Final Thoughts
Building your first React Native app with Expo in 30 minutes is an excellent way to understand modern mobile development. With create-expo-app, you can initialize a project quickly, start a development server, write React Native components, and see your changes on a device with relatively little configuration.
The basic workflow is simple:
Create project
     ↓
Start Expo
     ↓
Build components
     ↓
Add styles
     ↓
Add interaction
     ↓
Test on a device
     ↓
Expand the application
React Native provides the foundation for creating native mobile experiences, while Expo adds tooling and services that make the development process more approachable. Official React Native guidance recommends a framework such as Expo for new applications, making this combination a practical starting point for developers entering cross-platform mobile development.
If you are learning React Native in 2026, focus less on memorizing commands and more on understanding components, state, navigation, styling, APIs, and the overall development workflow. Once those fundamentals are clear, you can move from a simple “Hello World” project to increasingly useful applications with confidence.
Frequently Asked Questions
Can I build a React Native app without knowing native Android or iOS development?
Yes. Expo is designed to make React Native development more accessible, so beginners can start without manually configuring every native project. However, learning some Android and iOS concepts becomes valuable as applications become more advanced.
Is Expo only for beginners?
No. Expo can be used for serious React Native applications as well. Its ecosystem includes development tools, native modules, routing options, and EAS services for more advanced workflows.
Can I use TypeScript with Expo?
Yes. TypeScript is supported and is included in recommended Expo project templates.
Can an Expo app run on Android and iOS?
Yes. Expo is designed around React Native applications that can target multiple platforms, including Android and iOS, with web support available for appropriate projects.
Is Expo free?
The Expo framework itself is open source. Expo also provides optional services through Expo Application Services, so you should review the current official pricing and service documentation when planning a larger project.
Trusted Sources
- Expo Documentation – Create a Project
- Expo Documentation – Start Developing
- Expo Documentation – React Native and Expo Tutorial
- React Native Documentation – Getting Started
- React Native – Recommended Frameworks
About The Author