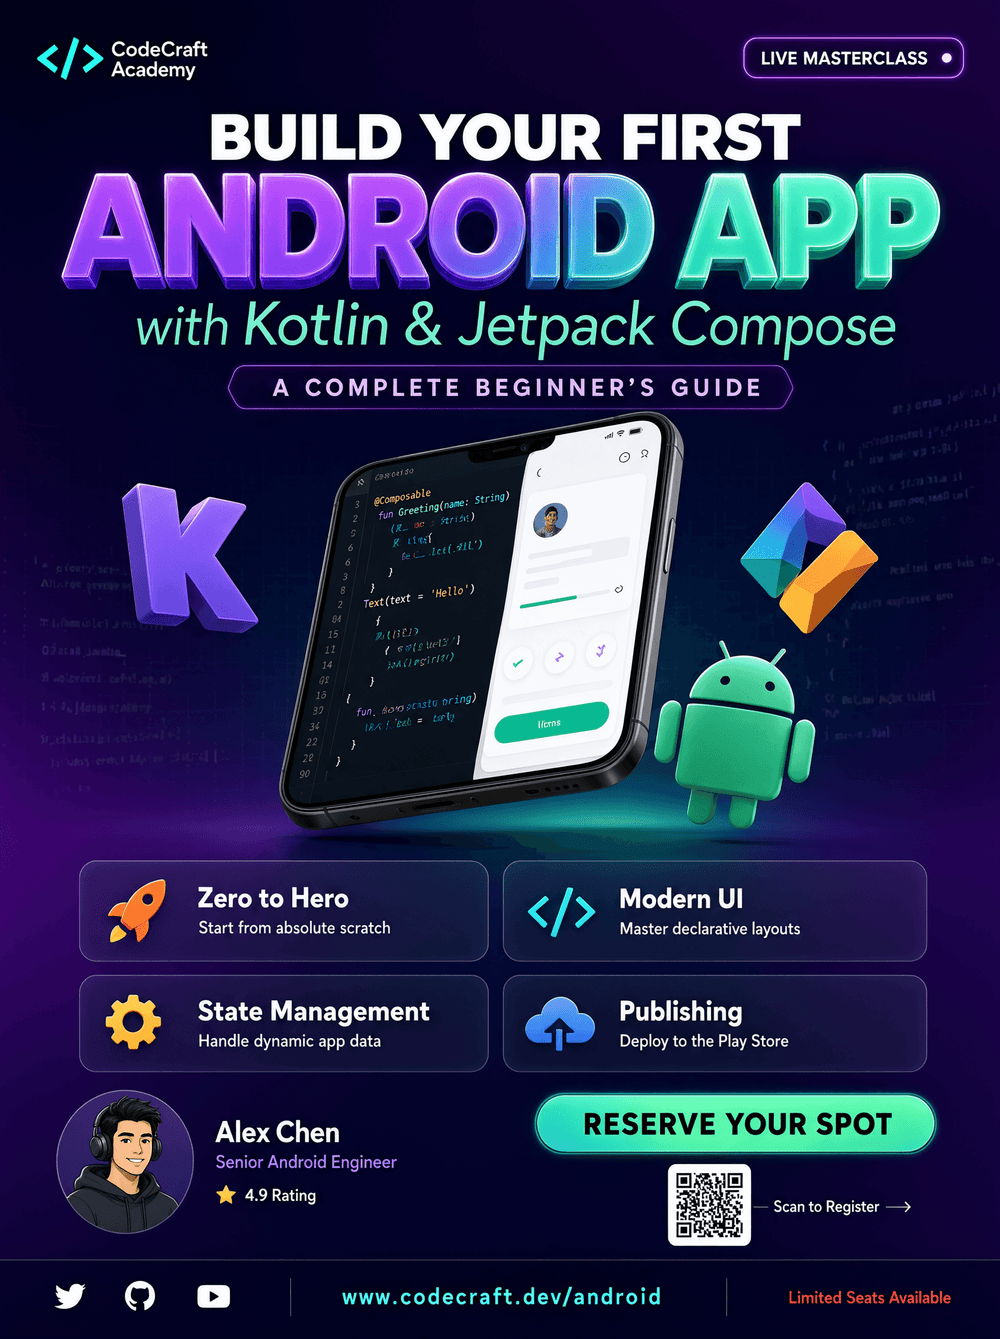
Building Your First Android App with Kotlin and Jetpack Compose A Complete Beginner’s Guide
Building your first Android application can feel overwhelming when you are looking at the Android ecosystem for the first time. There are programming languages, development tools, user-interface frameworks, project structures, build systems, and platform APIs to understand.
Fortunately, modern Android development has become much more approachable with Kotlin and Jetpack Compose.
Kotlin is Google’s recommended modern language for Android development, while Jetpack Compose is Android’s modern toolkit for building native user interfaces. Instead of creating layouts primarily through XML files, Compose allows developers to describe the interface directly using Kotlin code. Google describes Jetpack Compose as Android’s recommended modern toolkit for building native UI. (developer.android.com)
In this guide, you will learn how to build your first Android app with Kotlin and Jetpack Compose, understand the basic project structure, create a simple interactive interface, manage state, test your application, and prepare yourself for the next stage of Android development.
What Is Kotlin?
Kotlin is a modern, statically typed programming language developed by JetBrains.
It is widely used for Android development and provides features designed to make application code concise, readable, and safer.
For example, a traditional variable declaration might look like this:
val appName = "My First Android App"
You can also create functions easily:
fun greetUser(name: String): String {
    return "Hello, $name!"
}
Kotlin supports features such as:
- Null safety
- Type inference
- Extension functions
- Data classes
- Coroutines
- Higher-order functions
- Smart casts
- Concise syntax
Google officially recommends Kotlin for Android development, and the Android documentation provides extensive Kotlin-first learning resources. (developer.android.com)
If you are completely new to programming, learning Kotlin fundamentals before attempting a large Android project will make the rest of the process much easier.
What Is Jetpack Compose?
Jetpack Compose is Android’s modern declarative UI toolkit.
Instead of describing a screen primarily through XML layouts and then connecting those layouts to Kotlin code, Compose allows you to define UI using Kotlin functions called composable functions.
A simple Compose function might look like this:
@Composable
fun WelcomeMessage() {
    Text("Welcome to Android!")
}
The @Composable annotation tells Compose that the function describes part of the user interface.
This approach changes how developers think about Android UI.
Rather than telling the application exactly how to manipulate individual views, you describe what the interface should look like for a particular state.
Google’s Compose documentation explains that Compose uses a declarative approach to UI, allowing developers to describe the desired interface and letting the framework update it when application state changes. (developer.android.com)
Why Use Kotlin and Jetpack Compose?
There are several reasons modern Android developers choose this combination.
Kotlin improves developer productivity
Kotlin reduces repetitive code and provides language features designed for modern application development.
Compose simplifies UI development
Compose allows UI elements to be created directly in Kotlin instead of requiring a separate XML layout for every interface.
State-driven UI is easier to reason about
When state changes, Compose can recompose the relevant parts of the interface.
Android Studio provides strong tooling
Android Studio includes previews, debugging tools, profiling features, and Compose-specific development support.
The ecosystem is actively maintained
Google continues to develop Jetpack Compose and the broader Android Jetpack ecosystem.
Together, Kotlin and Compose provide a modern foundation for native Android development.
Step 1: Install Android Studio
The first tool you need is Android Studio, Google’s official integrated development environment for Android development.
Download and install the latest stable version from the official Android Developers website.
Android Studio includes important components such as:
- Android SDK
- Emulator
- Gradle integration
- Kotlin support
- Debugging tools
- Layout and Compose tools
- Device management
- Testing tools
The exact installation screens may change between Android Studio releases, so following the current official documentation is preferable to relying on screenshots from older tutorials. (developer.android.com)
After installation, open Android Studio and make sure the required Android SDK components are available.
Step 2: Create a New Android Project
Start Android Studio and select the option to create a new project.
For a modern Compose application, choose an appropriate Jetpack Compose project template.
You will normally be asked to provide information such as:
- Project name
- Package name
- Save location
- Minimum SDK
- Language
Choose Kotlin as the programming language.
For your first application, keep the project simple. You do not need a complicated architecture or dozens of dependencies to learn the fundamentals.
Once the project is created, Android Studio will generate the basic application structure.
Step 3: Understand the Project Structure
A new Android project contains several important directories and files.
You may encounter a structure similar to:
MyFirstApp/
├── app/
│   ├── src/
│   │   ├── main/
│   │   │   ├── java/
│   │   │   ├── res/
│   │   │   └── AndroidManifest.xml
│   └── build.gradle.kts
├── build.gradle.kts
├── settings.gradle.kts
└── gradle/
The exact structure can differ depending on the Android Studio version and project template.
The app module generally contains the application’s main code.
Kotlin source files contain application logic and composable functions.
The AndroidManifest.xml file describes important application information and components.
Gradle configuration files control how the application is built and which dependencies are used.
Do not worry if this looks complicated initially. You will become familiar with these files as you build more projects.
Step 4: Create Your First Composable Function
Open the main Kotlin activity created by the project template.
A simplified example might look like:
class MainActivity : ComponentActivity() {

    override fun onCreate(savedInstanceState: Bundle?) {
        super.onCreate(savedInstanceState)

        setContent {
            MyFirstAppTheme {
                WelcomeScreen()
            }
        }
    }
}
Now create a composable screen:
@Composable
fun WelcomeScreen() {
    Column {
        Text("My First Android App")
        Text("Built with Kotlin and Jetpack Compose")
    }
}
The Column places its children vertically.
The Text composable displays text.
This small example already demonstrates one of the most important concepts in Android Compose development: user-interface elements are represented by composable functions.
Step 5: Add a Button
A static screen is useful for learning, but mobile applications need interaction.
Let’s add a button:
@Composable
fun WelcomeScreen() {
    Column {
        Text("Welcome to my app")

        Button(
            onClick = {
                // Handle click
            }
        ) {
            Text("Continue")
        }
    }
}
The onClick parameter defines what should happen when the user presses the button.
You can place almost any appropriate application action there, such as navigating to another screen, updating state, saving information, or starting a process.
However, avoid placing large amounts of business logic directly inside UI callbacks. As your application grows, separate UI code from application logic.
Step 6: Understand State in Jetpack Compose
One of the most important concepts in Jetpack Compose for beginners is state.
Imagine that your application displays a counter.
The counter needs to remember its current value.
Compose provides state APIs that allow the UI to respond when the state changes.
A simple example is:
@Composable
fun CounterScreen() {

    var count by remember { mutableStateOf(0) }

    Column {
        Text("Count: $count")

        Button(
            onClick = {
                count++
            }
        ) {
            Text("Increase")
        }
    }
}
When the button is pressed, count changes.
Compose observes that state and recomposes the parts of the UI that depend on it.
This is called recomposition.
Google’s official Compose documentation explains that recomposition occurs when Compose needs to update composable functions because their inputs or observed state have changed. (developer.android.com)
Understanding state and recomposition is fundamental to becoming productive with Compose.
Step 7: Design the Interface With Material 3
Modern Android applications often use Material 3, Google’s design system for building Android interfaces.
Compose provides Material components that can help you create consistent interfaces without designing every component from scratch.
For example:
@Composable
fun ProfileCard() {
    Card {
        Column {
            Text("John Doe")
            Text("Android Developer")
        }
    }
}
You can also use buttons, cards, dialogs, navigation components, floating action buttons, menus, and other UI elements.
Material 3 provides guidance and components designed around modern Android design principles. (developer.android.com)
Using a design system can make your application look more consistent and can reduce the amount of custom UI code you need to maintain.
Step 8: Add Spacing and Layout
A professional interface needs more than text and buttons.
Compose provides layout primitives such as:
RowColumnBox
You can control spacing with Modifier.
For example:
Column(
    modifier = Modifier.padding(16.dp)
) {
    Text("Create your account")

    Spacer(
        modifier = Modifier.height(12.dp)
    )

    Button(
        onClick = {}
    ) {
        Text("Sign Up")
    }
}
The Modifier system is one of the most important concepts in Compose.
It allows you to configure properties such as:
- Padding
- Size
- Background
- Click behavior
- Alignment
- Accessibility semantics
- Layout behavior
Learning how modifiers work will significantly improve your ability to create polished Compose interfaces.
Step 9: Use Android Studio Compose Preview
One of the most useful features of Jetpack Compose development is the preview system.
With an appropriate @Preview function, Android Studio can display a composable without requiring you to launch the entire application.
For example:
@Preview(showBackground = true)
@Composable
fun WelcomePreview() {
    WelcomeScreen()
}
This can make UI development faster because you can quickly inspect changes.
Previews are particularly useful for experimenting with different layouts, text sizes, spacing, and themes.
However, previews do not replace testing on real devices and emulators.
Step 10: Run Your Android App
You can run the application using either an Android Emulator or a physical Android device.
The Android Emulator allows you to test different:
- Screen sizes
- Android versions
- Device configurations
- Orientations
- Performance characteristics
A physical device is also important because real hardware can behave differently from an emulator.
For example, camera behavior, battery usage, sensors, network conditions, and manufacturer-specific behavior may not be fully represented by a standard emulator.
For your first project, start with the emulator and then test the application on at least one physical Android device.
Step 11: Learn Navigation
Most real applications contain multiple screens.
For example:
Home
  ↓
Products
  ↓
Product Details
  ↓
Checkout
Jetpack Compose applications can use the Navigation component to manage navigation between destinations.
A navigation architecture allows you to keep screen transitions organized rather than manually creating and destroying UI components.
As your application grows, navigation arguments, deep links, authentication flows, and back-stack behavior become increasingly important.
The Android Developers documentation provides current guidance for Navigation with Compose. (developer.android.com)
Step 12: Separate UI From Application Logic
Beginners often put everything into one activity or one composable function.
That is acceptable for a small learning project.
However, production applications need better organization.
A common architecture separates responsibilities into areas such as:
UI
↓
ViewModel
↓
Repository
↓
Data Source
A ViewModel can manage UI-related state and business logic while the UI observes that state.
The repository layer can provide an abstraction around data sources such as network APIs and local databases.
Android’s architecture guidance recommends patterns that separate concerns and make applications easier to test and maintain. (developer.android.com)
Do not over-engineer your first application, but start developing the habit of keeping responsibilities separate.
Step 13: Add a ViewModel
A simple ViewModel might look like:
class CounterViewModel : ViewModel() {

    var count by mutableStateOf(0)
        private set

    fun increment() {
        count++
    }
}
The composable can then interact with the ViewModel:
@Composable
fun CounterScreen(
    viewModel: CounterViewModel = viewModel()
) {
    Column {
        Text("Count: ${viewModel.count}")

        Button(
            onClick = viewModel::increment
        ) {
            Text("Increase")
        }
    }
}
This keeps the state-management logic outside the UI function.
As applications become more complex, ViewModels can also work with repositories, flows, coroutines, and other Android architecture components.
Step 14: Test Your Compose Application
Testing is an essential part of professional Android development.
Your first application does not need thousands of tests, but important behavior should be tested.
You can test:
- UI rendering
- Button interactions
- State changes
- Navigation
- Business logic
- ViewModels
- Data repositories
Compose provides testing APIs designed for interacting with composable UI in tests.
For example, tests can locate UI elements by text or semantics and simulate user interactions.
The Android documentation provides dedicated guidance for testing Jetpack Compose interfaces. (developer.android.com)
Testing becomes increasingly valuable as your project grows because it gives you confidence when changing existing code.
Step 15: Improve Accessibility
Accessibility should not be an afterthought.
Your application should be usable by people with different abilities and assistive technologies.
Pay attention to:
- Text readability
- Color contrast
- Touch target sizes
- Content descriptions
- Screen-reader behavior
- Logical navigation
- Error messages
Compose provides semantics that accessibility services and UI testing frameworks can use to understand your interface.
Good accessibility is also good product design because clearer interfaces are often easier for everyone to use.
Step 16: Prepare Your App for Production
Once your application works, you are not finished.
Before publishing, review:
Performance
Check startup time, scrolling performance, memory consumption, and unnecessary recompositions.
Security
Never hard-code private API keys, passwords, or sensitive credentials into your application.
Error handling
Make sure network failures and invalid input do not cause unexpected crashes.
Privacy
Understand what data your application collects and why.
Permissions
Request only the permissions your application genuinely needs.
Release configuration
Create and test a release build rather than assuming a debug build represents production behavior.
Common Mistakes Beginners Make With Kotlin and Compose
Learning Android development is easier when you understand common mistakes.
Putting everything in one composable
Large composables become difficult to read and test.
Break complex interfaces into smaller reusable components.
Ignoring state
If you do not understand state, Compose behavior can seem confusing.
Learn remember, state holders, recomposition, and ViewModels early.
Using too many dependencies
A beginner may install a library for every small feature.
Start with Android and Compose’s built-in capabilities whenever possible.
Testing only the emulator
Always test important functionality on real hardware.
Ignoring architecture
You do not need enterprise-level architecture for a simple learning application, but separating UI, state, and data responsibilities early will help you scale later.
What Should You Build as Your First Android App?
A good first project should be simple enough to finish but complex enough to teach important concepts.
Consider building:
- A task manager
- A notes application
- A weather application
- A habit tracker
- A simple expense tracker
- A recipe application
- A personal portfolio app
A task manager is particularly useful because it can teach you:
- Lists
- Forms
- State management
- Navigation
- Local persistence
- User interaction
- Material components
- Testing
The objective is not to build the next major social network on your first attempt.
The objective is to complete something.
Finishing a small application teaches more than repeatedly starting large projects and abandoning them halfway through.
The Next Skills to Learn
After building your first Kotlin and Jetpack Compose application, your learning path can expand naturally.
Focus on:
- Kotlin fundamentals
- Compose layouts
- State management
- Navigation
- ViewModel
- Coroutines
- Networking
- Local databases
- Dependency injection
- Testing
- App architecture
- Performance optimization
- Security
- Google Play publishing
You do not need to master everything at once.
Android development is a long-term skill, and each project gives you an opportunity to learn another part of the ecosystem.
Final Thoughts
Building your first Android app with Kotlin and Jetpack Compose is an excellent way to enter modern Android development.
Kotlin gives you a concise and powerful programming language, while Jetpack Compose provides a modern approach to building Android user interfaces. Instead of learning every Android API before creating something useful, you can start with a small project and gradually expand your knowledge.
Begin by installing Android Studio, creating a Kotlin Compose project, understanding composable functions, learning state, and building a few interactive screens. Then introduce navigation, ViewModels, data storage, networking, testing, and architecture as your application becomes more sophisticated.
The most important thing is to practice.
Read official documentation, build small applications, experiment with different Compose components, inspect errors carefully, and avoid depending entirely on copy-and-paste tutorials.
Google continues to invest heavily in Jetpack Compose and modern Android development. The official Android documentation describes Compose as the recommended modern toolkit for native UI development, making it a valuable skill for developers who want to build contemporary Android applications. (developer.android.com)
Your first application does not need to be perfect. It needs to teach you something.
Once you understand the basic relationship between Kotlin, Compose, state, architecture, and Android, you will have a strong foundation for building much more advanced mobile applications.
Frequently Asked Questions
Is Kotlin good for beginners in Android development?
Yes. Kotlin has a modern syntax and provides features such as null safety and type inference that can make Android development easier to maintain. Google officially recommends Kotlin for Android development. (developer.android.com)
Is Jetpack Compose better than XML?
Jetpack Compose provides a modern declarative approach to Android UI development and is Google’s recommended modern toolkit. XML-based layouts remain relevant in existing applications, so Android developers may eventually encounter both approaches. (developer.android.com)
Do I need to learn Java before Kotlin?
No. You can learn Kotlin directly for Android development. Understanding some Java can still be useful because the Android ecosystem contains a large amount of existing Java code and libraries.
Can I build professional Android apps with Jetpack Compose?
Yes. Jetpack Compose is designed for production Android applications and is actively developed by Google. It can be used for small applications as well as sophisticated production projects.
Is Android Studio free?
Android Studio is Google’s official development environment for Android and is available without a paid license for standard Android development. Always download it from the official Android Developers website to obtain the current version.
What is the easiest Android app to build with Kotlin?
A simple to-do list, notes application, calculator, habit tracker, or expense tracker is a good starting point. These projects allow beginners to practice UI, state, input, and basic data management without excessive complexity.
How long does it take to learn Kotlin and Jetpack Compose?
There is no fixed timeline. A beginner can learn the basic concepts relatively quickly, but becoming comfortable enough to build production applications requires consistent practice. Building several small projects is usually more effective than trying to memorize the entire Android ecosystem.
Trusted Sources
For reliable and current information, use official Android documentation whenever possible. Android development tools, APIs, Compose libraries, and recommended practices evolve over time, so older tutorials may contain outdated instructions.
Recommended primary sources include:
- Android Developers — Jetpack Compose
- Android Developers — Kotlin
- Android Developers — Android Studio
- Android Developers — App Architecture
- Android Developers — Navigation with Compose
- Android Developers — Compose Testing
- Android Developers — Material 3
About The Author