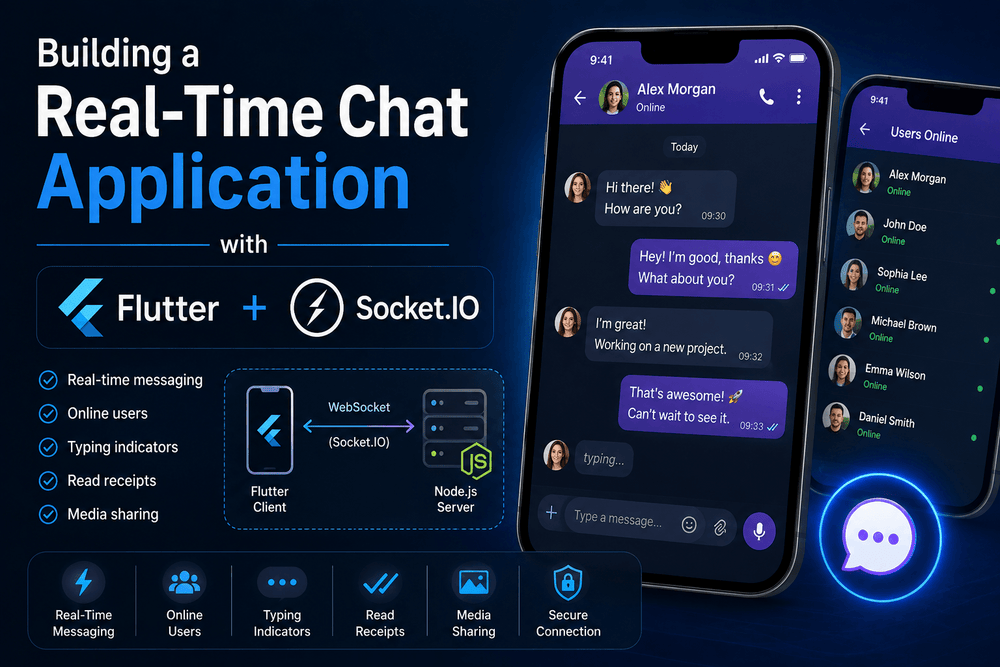
4. Building a Real-Time Chat Application with Flutter and Socket.IO
Real-time communication has become an essential feature of modern mobile applications. Whether you are building a messaging platform, customer support application, collaboration tool, or social network, users expect messages to appear immediately without manually refreshing the screen.
Flutter makes it possible to build cross-platform applications from a single codebase, while Socket.IO provides a convenient approach for real-time, event-based communication between clients and servers. By combining Flutter and Socket.IO, developers can create responsive chat applications where messages, typing events, connection status, and other updates can be delivered in real time.
In this guide, we will explore how to build a real-time chat application with Flutter and Socket.IO, including the project architecture, Socket.IO client setup, connection management, sending and receiving messages, and practical considerations for production applications.
What Is a Real-Time Chat Application?
A real-time chat application allows users to exchange information with minimal delay. Instead of repeatedly requesting a server to check whether new messages are available, the client maintains a communication channel that can receive events as they happen.
Flutter’s networking documentation explains that WebSockets provide two-way communication between an application and a server without relying on traditional polling.
Socket.IO builds on this type of real-time communication with an event-based programming model. It can use WebSocket transport and provides additional features that make real-time applications easier to structure.
For example, a chat application might define events such as:
messagesend_messagetypinguser_onlineuser_offlinemessage_read
This event-based approach makes it easier to separate different types of real-time activity.
Why Use Flutter and Socket.IO for Chat?
There are several reasons why Flutter Socket.IO chat applications are attractive to developers.
Flutter allows developers to create Android, iOS, web, and desktop applications using Dart. Socket.IO, meanwhile, provides an event-driven communication layer between the application and the backend.
The Dart socket_io_client package is a Flutter-compatible port of the Socket.IO client and currently supports Socket.IO server versions in the 4.x family through its current 3.x client line.
This combination can be useful when you need:
- Instant message delivery
- Real-time typing indicators
- Online and offline status
- Chat rooms
- Group conversations
- Read receipts
- Real-time notifications inside the application
- Cross-platform Flutter applications
However, Socket.IO is not a database. Your backend still needs a suitable storage system for users, conversations, and messages.
How the Flutter Socket.IO Architecture Works
Before writing code, it helps to understand the basic architecture.
A typical real-time chat application contains three main components:
1. Flutter Client
The Flutter application provides the user interface and establishes a Socket.IO connection with the backend.
2. Socket.IO Server
The server receives events from connected clients and broadcasts appropriate events to other users.
3. Database
The database stores persistent information such as:
- User accounts
- Conversations
- Messages
- Message timestamps
- Read status
A simplified communication flow looks like this:
Flutter User A
      |
      | send_message
      v
Socket.IO Server
      |
      | message
      v
Flutter User B
      |
      v
Chat Interface
The server should normally be responsible for validating and routing messages rather than trusting data received directly from the client.
Step 1: Create a Flutter Project
Start by creating a new Flutter project:
flutter create realtime_chat
cd realtime_chat
Then run the application to make sure the Flutter environment is working correctly:
flutter run
Flutter provides official networking recipes covering HTTP requests and WebSocket communication, which makes it a suitable framework for applications that communicate continuously with backend services.
Step 2: Add the Socket.IO Client Package
For a Flutter application, one commonly used package is socket_io_client.
Install it with:
flutter pub add socket_io_client
The current package is available on pub.dev and supports Dart and Flutter platforms including Android, iOS, Linux, macOS, web, and Windows.
Then import the package:
import 'package:socket_io_client/socket_io_client.dart' as IO;
It is important to keep the client and server versions compatible. The package documentation provides a version compatibility table between the Dart Socket.IO client and Socket.IO server versions.
Step 3: Create a Socket Service
Instead of creating a Socket.IO connection directly inside a widget, it is generally cleaner to create a dedicated service.
For example:
import 'package:socket_io_client/socket_io_client.dart' as IO;

class SocketService {
  late IO.Socket socket;

  void connect() {
    socket = IO.io(
      'https://your-server.example.com',
      IO.OptionBuilder()
          .setTransports(['websocket'])
          .disableAutoConnect()
          .build(),
    );

    socket.connect();

    socket.onConnect((_) {
      print('Connected to Socket.IO server');
    });

    socket.onDisconnect((_) {
      print('Disconnected from Socket.IO server');
    });

    socket.onConnectError((error) {
      print('Connection error: $error');
    });
  }

  void disconnect() {
    socket.dispose();
  }
}
The Dart Socket.IO client documentation demonstrates the same general pattern of creating a socket, registering connection listeners, emitting events, and receiving events.
For production applications, replace the example server URL with your own secure HTTPS/WSS-enabled backend.
Step 4: Connect the Flutter App to the Server
Once your socket service is ready, initialize it when the appropriate application or chat screen starts.
For example:
final socketService = SocketService();

@override
void initState() {
  super.initState();

  socketService.connect();
}
When the connection succeeds, the onConnect callback is triggered.
You can use this event to:
- Authenticate the user
- Join a conversation
- Request recent messages
- Update the connection indicator
- Subscribe to relevant events
A real-world application should also handle connection failures and temporary network interruptions.
Step 5: Send a Chat Message
Suppose your server expects a send_message event.
The Flutter application can emit the event like this:
void sendMessage(String text) {
  socket.emit('send_message', {
    'conversationId': 'conversation_123',
    'message': text,
  });
}
The payload can contain additional information depending on your application architecture.
For example:
{
  "conversationId": "conversation_123",
  "message": "Hello!",
  "clientMessageId": "abc123"
}
A client-generated message ID can be useful for tracking messages and preventing duplicate UI entries.
Step 6: Receive Messages in Real Time
The server can emit a message event when a new message should be delivered to the client.
In Flutter:
socket.on('message', (data) {
  print('New message: $data');
});
You can then update the chat interface.
For example, with a list of messages:
setState(() {
  messages.add(
    ChatMessage.fromJson(data),
  );
});
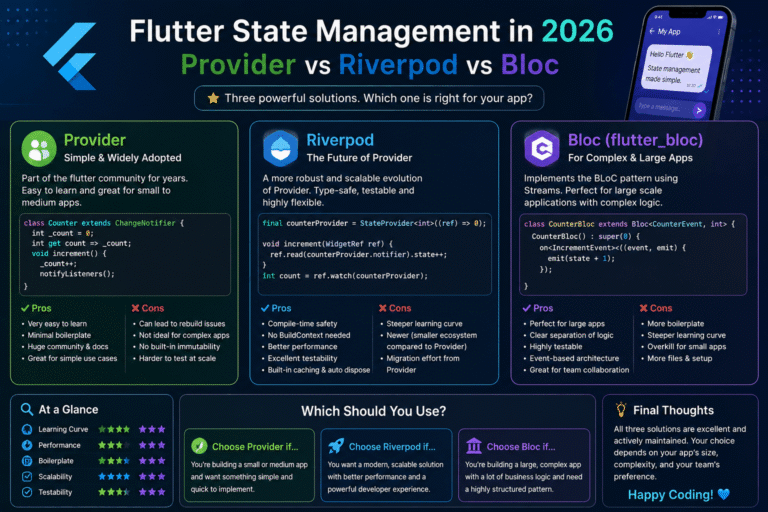
In a larger application, it is often better to manage this state with a dedicated architecture such as Provider, Riverpod, Bloc, or another state-management approach rather than calling setState() throughout the application.
Step 7: Create a Chat Message Model
A model makes message handling cleaner and safer.
For example:
class ChatMessage {
  final String id;
  final String senderId;
  final String text;
  final DateTime createdAt;

  ChatMessage({
    required this.id,
    required this.senderId,
    required this.text,
    required this.createdAt,
  });

  factory ChatMessage.fromJson(Map<String, dynamic> json) {
    return ChatMessage(
      id: json['id'].toString(),
      senderId: json['senderId'].toString(),
      text: json['text'].toString(),
      createdAt: DateTime.parse(
        json['createdAt'].toString(),
      ),
    );
  }
}
This approach makes the application easier to maintain because the UI does not need to work directly with loosely structured JSON data.
Step 8: Build the Flutter Chat Interface
A basic chat interface can contain:
- An app bar showing the conversation
- A message list
- A text input field
- A send button
- Connection status
- Optional typing indicators
A simplified interface might look like this:
Column(
  children: [
    Expanded(
      child: ListView.builder(
        itemCount: messages.length,
        itemBuilder: (context, index) {
          final message = messages[index];

          return ListTile(
            title: Text(message.text),
            subtitle: Text(message.senderId),
          );
        },
      ),
    ),
    Row(
      children: [
        Expanded(
          child: TextField(
            controller: messageController,
          ),
        ),
        IconButton(
          icon: const Icon(Icons.send),
          onPressed: () {
            sendMessage(messageController.text);
          },
        ),
      ],
    ),
  ],
)
This is intentionally simple. A production chat interface should also consider message grouping, timestamps, scrolling behavior, keyboard handling, accessibility, and loading states.
Adding Typing Indicators
A typing indicator is a common feature in real-time messaging applications.
When a user starts typing, Flutter can emit an event:
socket.emit('typing', {
  'conversationId': conversationId,
});
When the user stops typing:
socket.emit('stop_typing', {
  'conversationId': conversationId,
});
The server can broadcast the event to other participants.
However, sending an event for every keystroke is unnecessary. A debounce mechanism can reduce network traffic and improve efficiency.
Using Socket.IO Rooms for Conversations
Chat applications frequently need separate communication channels for individual conversations.
Socket.IO supports the concept of rooms. The server can place connected clients into a room representing a conversation and broadcast messages to that room.
For example, conceptually:
conversation_123
 ├── User A
 ├── User B
 └── User C
When a message is sent to this conversation, the server can broadcast it only to users connected to that room.
Socket.IO’s Dart documentation also describes namespaces and rooms as mechanisms for organizing communication channels.
This becomes particularly useful for group chat applications.
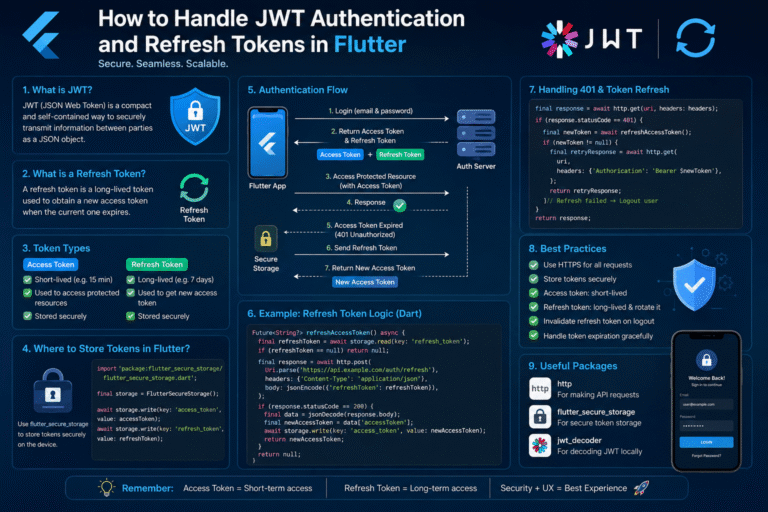
Authentication and Security
A real-time chat application should never assume that a connected socket is automatically authorized to access every conversation.
Authentication should happen before allowing users to interact with protected resources.
A common architecture is:
Flutter App
    |
    | Authentication
    v
Backend API
    |
    | Access Token
    v
Socket.IO Connection
The server should verify the user’s credentials or access token and determine which conversations that user can access.
Never trust values such as senderId or conversationId simply because they came from the Flutter client. The backend should validate ownership and permissions.
Also use secure connections in production. Avoid sending sensitive chat information through an unencrypted connection.
Handling Connection Problems
Mobile devices frequently switch between Wi-Fi and cellular networks. Users may also temporarily lose connectivity.
For this reason, a reliable Flutter chat application should handle:
- Connection failures
- Disconnections
- Reconnection attempts
- Network changes
- Duplicate messages
- Delayed messages
- Authentication expiration
Socket.IO provides connection-related events that allow the client to react when the connection changes.
For example:
socket.onDisconnect((_) {
  print('Socket disconnected');
});

socket.onConnectError((error) {
  print('Socket connection error: $error');
});
You should also make sure that the user interface clearly communicates connection problems instead of silently failing.
Socket.IO vs Standard WebSockets
Developers sometimes ask whether they should use Socket.IO or a standard WebSocket implementation.
Flutter officially provides WebSocket guidance using packages such as web_socket_channel. WebSockets provide two-way communication between a client and server without polling.
Socket.IO adds an event-oriented abstraction and additional functionality around real-time communication.
Standard WebSocket
Good when you want:
- A lower-level WebSocket connection
- A simple communication protocol
- Full control over the protocol
Socket.IO
Useful when you want:
- Named events
- Rooms
- Namespaces
- A convenient client/server programming model
- Real-time application features built around events
The right choice depends on your backend architecture and project requirements.
Best Practices for a Production Flutter Chat App
A working prototype is only the beginning. Before releasing a real-time chat application, consider the following best practices.
Store Messages in a Database
Socket.IO handles real-time delivery, but persistent messages should normally be stored in a database.
Use Message IDs
Unique message IDs help prevent duplicates and make synchronization easier.
Validate Messages on the Server
Never rely exclusively on Flutter-side validation.
Protect User Data
Use encrypted connections and appropriate authentication mechanisms.
Avoid Excessive Events
Typing indicators and presence updates should be optimized to avoid unnecessary traffic.
Handle Offline Scenarios
Mobile users can lose connectivity at any time. Your application should recover gracefully.
Separate Networking From UI
A dedicated Socket.IO service or repository makes the code easier to test and maintain.
Common Problems When Building Flutter Socket.IO Chat Apps
Socket Does Not Connect
Check:
- Server URL
- Port
- Socket.IO version compatibility
- Transport configuration
- Network permissions
- HTTPS/WSS configuration
The current socket_io_client package documentation provides compatibility information between client and server versions, so mismatched versions should be one of the first things you investigate.
Messages Are Received More Than Once
This can happen when listeners are registered repeatedly. Make sure your application does not create multiple socket listeners every time a widget rebuilds.
Chat Works Locally but Not in Production
Check your production server configuration, secure connection settings, firewall rules, reverse proxy configuration, and mobile network restrictions.
The Chat Screen Becomes Slow
Avoid rebuilding the entire message list whenever a small event arrives. Efficient state management and list rendering become increasingly important as conversations grow.
Frequently Asked Questions
Can Flutter work with Socket.IO?
Yes. The socket_io_client package provides a Dart client for Socket.IO that can be used with Flutter applications.
Is Socket.IO the same as WebSocket?
No. WebSocket is a communication protocol, while Socket.IO is a real-time communication framework/library that provides an event-based API and additional functionality.
Can Socket.IO support group chat?
Yes. Socket.IO rooms can be used to organize users into conversation-specific channels.
Does Socket.IO store chat messages?
No. Socket.IO is responsible for real-time communication. Persistent chat history should normally be stored separately in a database.
Can I build a WhatsApp-style chat application with Flutter?
Flutter can be used to build the user interface and client-side functionality for a sophisticated messaging application. However, a production messaging platform requires much more than a chat screen, including authentication, message persistence, security, media handling, synchronization, notifications, and scalable backend infrastructure.
Conclusion
Building a real-time chat application with Flutter and Socket.IO is an excellent way to learn how modern applications communicate with backend services in real time. Flutter provides the cross-platform user interface, while Socket.IO gives the application an event-based communication layer for messages, typing indicators, presence updates, rooms, and other real-time events.
The key to a reliable implementation is to separate responsibilities. Flutter should manage the user experience, the Socket.IO layer should handle real-time communication, and the backend should validate requests and manage persistent application data.
For a simple prototype, a basic Socket.IO connection and message event may be enough. For a production application, you should additionally implement authentication, secure connections, database persistence, message IDs, error handling, reconnection strategies, efficient state management, and appropriate privacy protections.
With these foundations in place, Flutter and Socket.IO can provide a flexible architecture for building modern real-time messaging applications across multiple platforms.
Trusted Sources
- Flutter Networking Documentation
- Flutter WebSocket Documentation
socket_io_clientpackage on pub.dev- Socket.IO/Dart client documentation
About The Author